
It has become apparent that cable TV companies no longer offer the best services and the best content you can get. Today, even the most basic online subscription services such as Netflix or Hulu provide a much better price and much more interesting content. However, even these can get quite expensive since it requires you to pay $10-$15 every single month. This is probably one of the reasons that you have decided to completely switch to aerial TV it is quite inexpensive and it is a long-term investment.
To experience the benefits of TV aerial, you will need to install an antenna. This might seem like a simple project at first, but it can get quite problematic depending on the type of antenna we are talking about and the roof of your home. Some people don’t even have to install it on the roof because they are close to a broadcasting tower, but that is quite a rare occasion.
If you want to avoid complications with this kind of project then you should just hire someone to do the work for you. However, if you do not feel like paying that extra money for nothing, it is time to learn how to do things by yourself. After reading through this 2024 DIY guide, I’m sure you will be ready to finally set up your aerial TV.
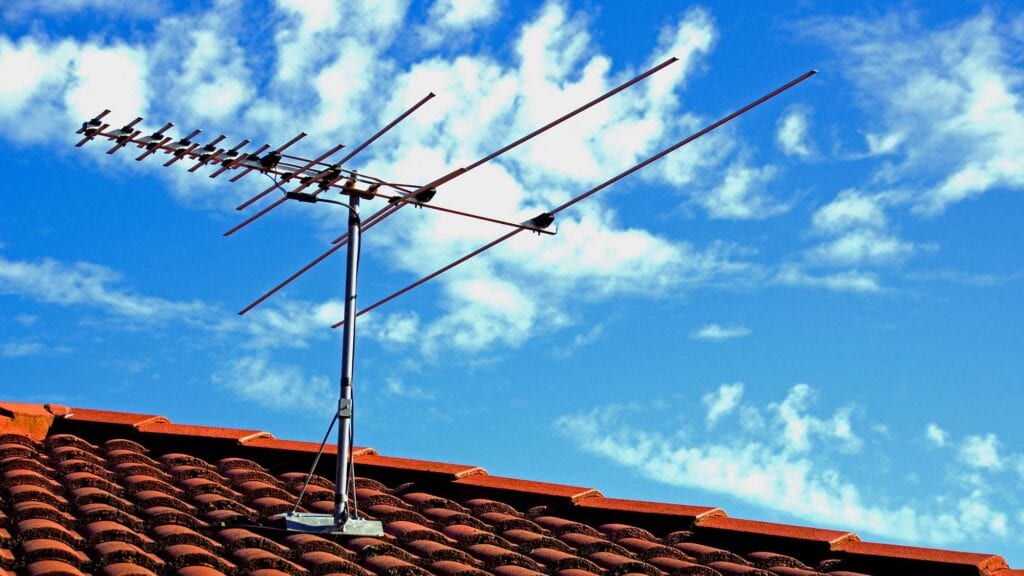
Pick the right equipment
bigcommerce.com
One of the first things you will need to do before installing anything is to ensure that you have bought or will buy the right equipment. The most expensive one does not necessarily mean that it is the best one. All of these antennas have different qualities and different features. It is very important to ensure that you have got the one that will satisfy your needs and requirements.
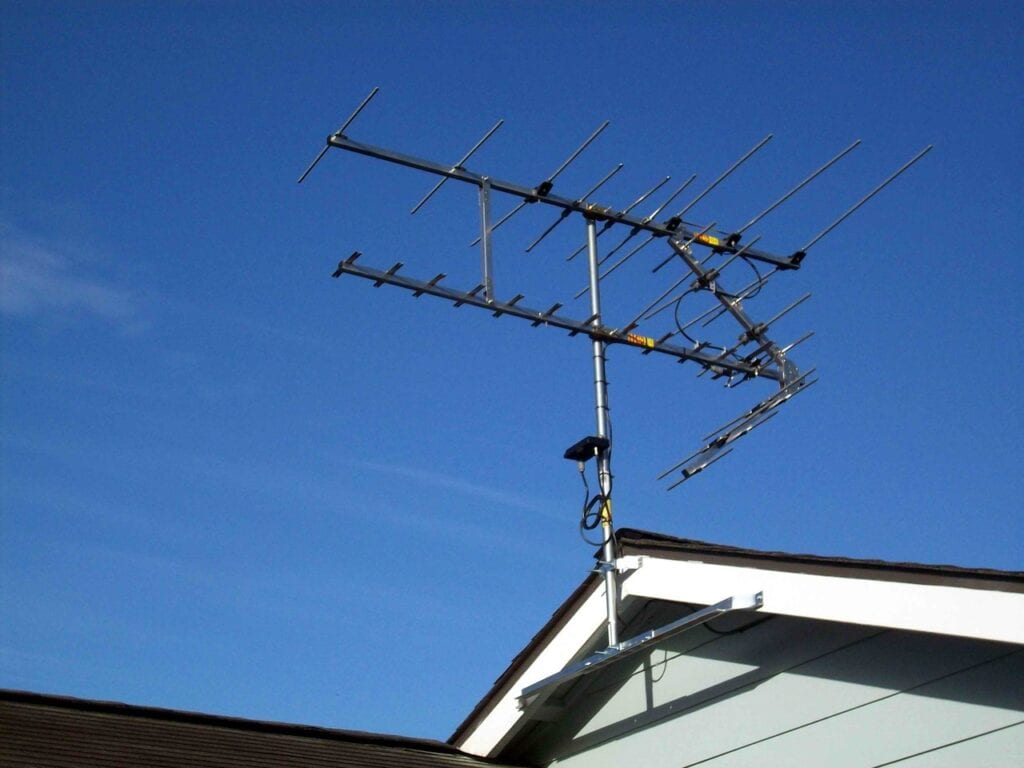
So, the first thing you need to focus on is whether you want an outdoor one or an indoor one. The benefit of an indoor antenna is that it is much simpler to install and it is aesthetically more pleasing. They usually look like a small square plate that you can slap on a wall or a window and depending on your distance from a broadcasting tower, you might even just put it under your TV. Unfortunately, the range of these devices is much smaller when compared to outdoor equipment.
Now, when it comes to an outdoor antenna, things get a bit more complicated. You have to consider the fact that it will take a lot more effort to set it up on the roof of your home and that it may require more fine-tuning to achieve the best level of quality. Although, the signal range and durability of these devices are several times better than the indoor ones.
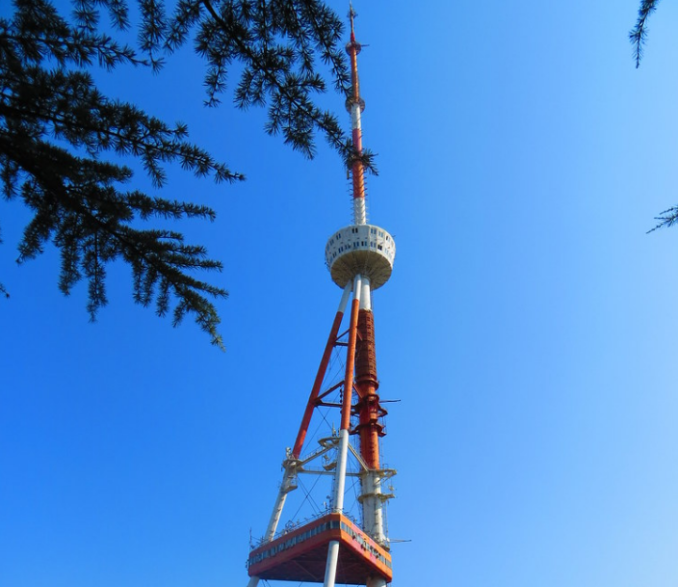
Find the nearest broadcasting tower
img source: staticflickr.com
Okay, so you finally bought the right equipment and now you are finally ready to take the next step of this little project.
It is vital to do a bit of research and find out where the nearest broadcasting tower is located. After you have acquired this information, you can use it to tune the antenna to face the right direction and to be placed in the right location. For example, if you put it on the wrong side of the house, the roof may block the signals getting from the tower to the receiver which might cause serious quality issues. If all of this seems too complicated for you, you can learn more here about the advantages of hiring a professional antenna installer.
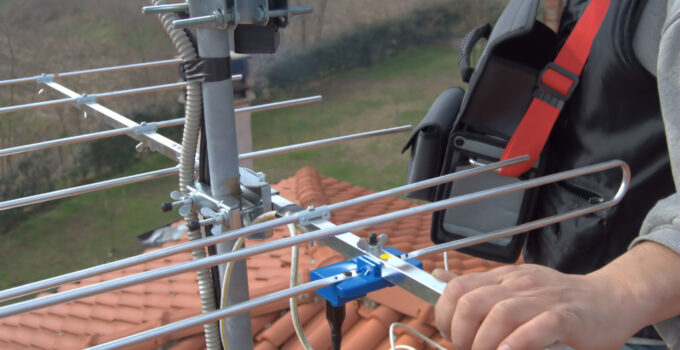
Put it on the roof
img source: net.au
The next step might be the most important one, so make sure you pay attention. The location where you will put your antenna and the direction you pointed out will determine the quality of the image you will be getting on your TV. If you do not manage to set it up properly, you will definitely face issues and you will not be able to watch certain channels to enjoy your favorite content.
So, like I already said, you know the location of the broadcasting tower and you can use that information to set up the device on the roof.
Get a ladder, make sure it is properly placed against the wall of your home and slowly climb up to the roof and then mark the location where you want to install the device. Keep in mind, once you determine the place where the antenna will be located, you will not be able to change it unless you go through this process again.
Get the antenna up there, and then follow the manual of installation. Once that is done, you will be glad to know that the hardest part is finally over. Plug in all of the required cables and run them down to the receiver located next to the TV. You can route the cable anywhere you want. The less it is visible, the better.
Set up the receiver
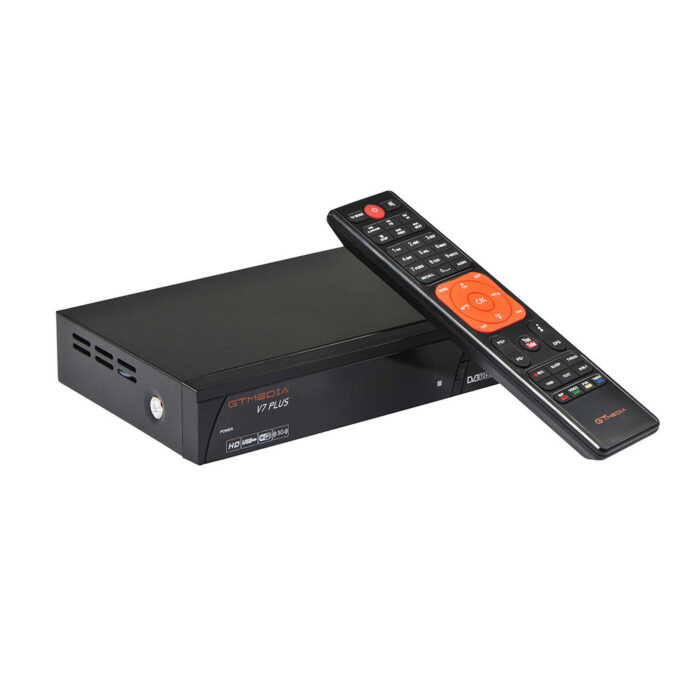
img source: staticbg.com
Like I already said, the hardest part is done and all you have to do is now plug-in all of the cables that come from the antenna and into the receiver. Once you have ensured that the connection between these two devices is secured, you can start working on the software part of this project. I can’t exactly tell you what you will have to do on your device because it varies from brand to brand, but I am sure there will be a manual that can guide you through the process. If you need any help with setting up the receiver, you should consult with professionals such as tvaerialinstaller.co.uk.
Enjoy your TV experience
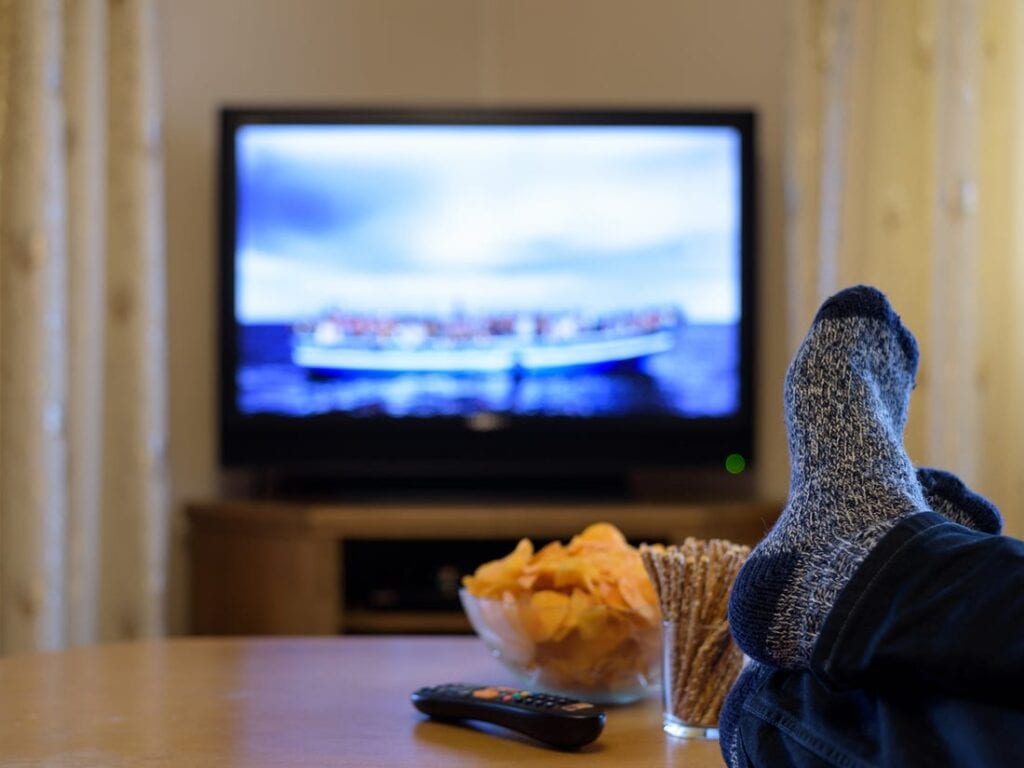
img source: insider.com
And the last step of this guide is to simply watch some TV and enjoy. Of course, if you do experience some connection or quality problems, you will have to do a bit of tinkering with the receiver or with the intent to get the best image quality.
After reading through this article, it is obvious that the entire process is not as difficult as it seems at first. With a bit of effort and the right tools, you will be able to set up your antenna in less than a day.


